Provision Map allows you to assign types to your provisions, which you can use to group provisions together in your reports.
To begin adding your own custom provision types, mouse over the Admin tab and select the School settings option from the drop down menu.

Next, either scroll down to the Provision types section or click on Provision types in the navigation menu to the left.

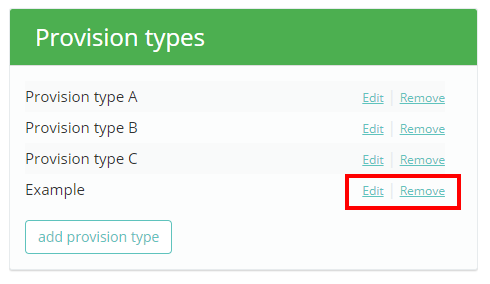
You will see a list of the existing custom provision types in your school’s Provision Map account. To add a new provision type, click one the add provision type button.

A popup dialog will appear. Enter the name of your provision type and click on the OK button.

Once a custom provision type has been added, you can use the Edit button to change the type’s name and the Remove button to delete the provision type.
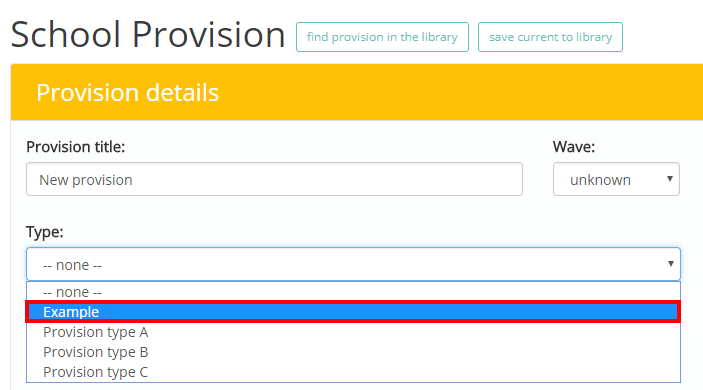
When you apply a new provision or edit an existing one, the new provision type will be selectable from the Type drop down menu.