Passports allow you to enter information in two main formats: Text tiles and List tiles. To start adding list tiles to your passports, either create a new passport or edit an existing passport.
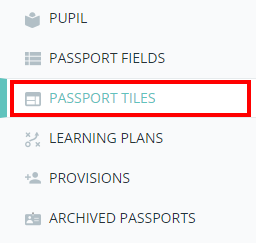
Next, either scroll down to the Pupil passport tiles section of the passport, or click on Passport tiles in the navigation menu.
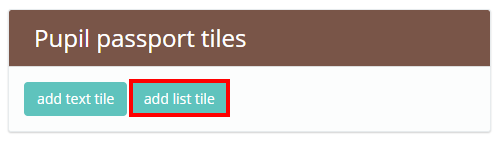
You will be presented with the Pupil passport tiles section of the passport. If you have set up default passport tiles in School Settings, they will be displayed in this section. Click on the add list tile button to create a new list tile.
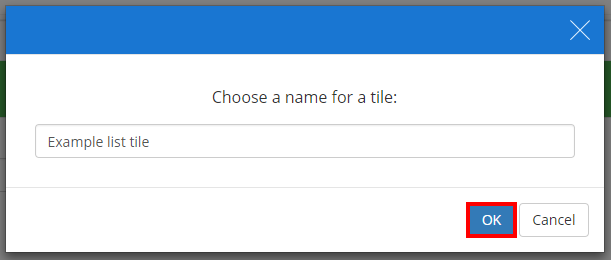
A popup will appear, prompting you to enter a name for the new list tile. Click on the OK button once you have entered a name.
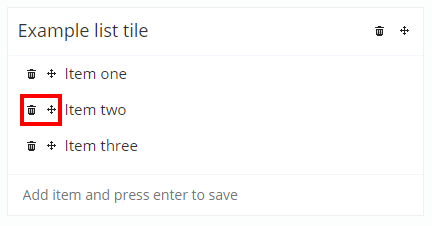
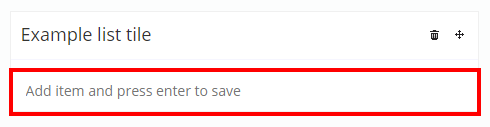
The new list tile will then be added to the Pupil passport tiles section. To add an item to the list tile, enter the item into the text area and press the enter key on your keyboard.
Once there are items within your list tile, you can reorder them by dragging the arrow icon to different positions in the list. To delete an item, click on the bin icon next to the entry,